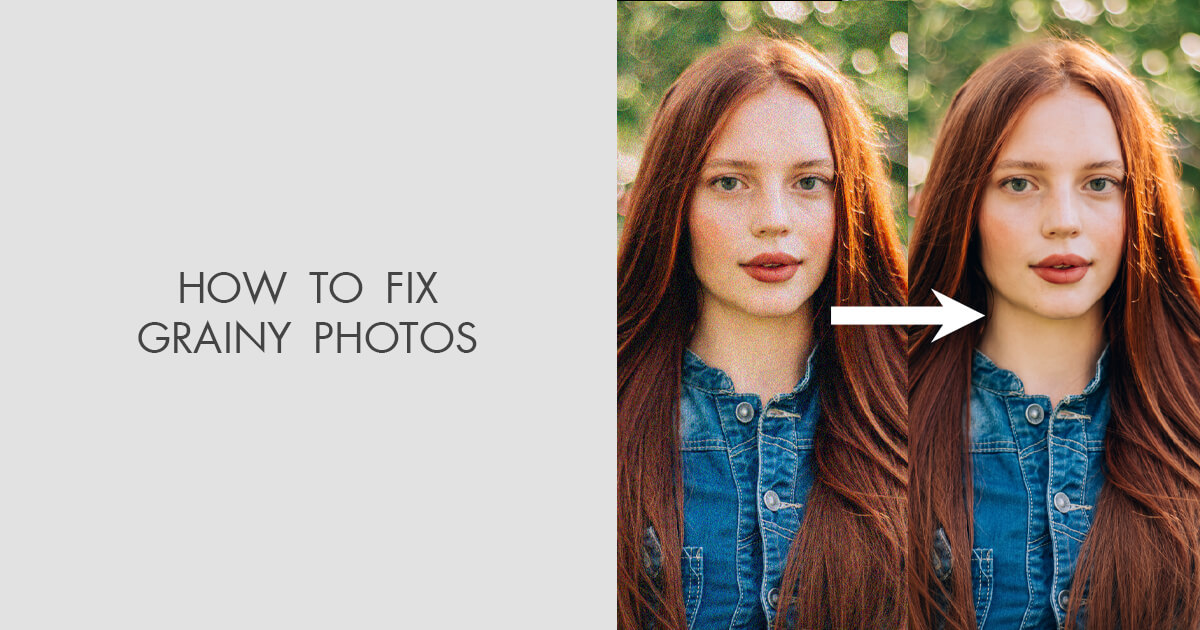
In today’s digital era, having grainy photos can be particularly distressing, especially if they contain valuable memories. Whether your photos appear grainy due to high ISO settings, underexposure, or any other reason, don’t worry. Fortunately, several photo repair software tools and manual methods are available to help you fix your grainy photos effortlessly.
Fixing grainy photos is not just about removing noise—it is about striking a balance. This article explores common reasons for your grainy photos, how to fix grainy photos without losing detail, and most importantly, preventive measures to avoid such issues in the future. Let’s get started!
Understanding Common Reasons for Your Grainy Photos
Identifying the exact reasons why photos appear grainy helps you determine adequate repair workarounds. Some common causes include:
- High ISO Settings: Photographers often raise ISO to achieve proper exposure, but this not only amplifies light in your photo but also electronic interference, resulting in visible grain.
- Low-Light Conditions: Shooting videos in low-light conditions can introduce noise, especially in shadows.
- Small Sensors: Smartphones and compact cameras are designed with smaller sensors than DSLRs or mirrorless cameras. Smaller sensors produce more noise because each pixel captures less light.
- Underexposure: Brightening a dark image in post-processing often reveals noise that was hidden in shadows.
- Long Exposures: Long shutter speeds result in heat buildup in the sensor, causing noise, common in night photography and astrophotography.
Best Methods to Fix Grainy Photos without Losing Detail
Graininess is mainly fixed by smoothing pixels, but too much smoothing removes fine details, making your photo look plastic and textures look flat. That’s why it is important to maintain a balance between noise reduction and detail preservation.
In this section, we’ve outlined various photo repair methods that you can try to repair grainy photos without losing detail:
Method 01: Configure Noise Reduction in Photoshop
Adobe Photoshop is one of the most popular photo editing software tools, which can help you fix grainy photos just by configuring some settings (like reducing noise). Although complete noise reduction is not possible, the built-in Noise Filter feature can help you reduce the noise in the pictures to a certain degree. Here’s how you can reduce noise in Photoshop:
- Firstly, launch Photoshop on your PC/Mac.
- Open the grainy photo that you need to fix in Photoshop.
- Click Filter from the menu bar located at the top, then go to Noise > Reduce Noise.


- Now, in the Reduce Noise window, adjust the Strength, Reduce Color Noise, Preserve Details and Sharpen Details sliders until the image reaches your desired level of clarity and quality.


- Once satisfied, click OK to save the edited image.
Method 02: Repair Grainy Photos Using Lightroom
Another effective tool for fixing grainy photos without losing detail is Adobe Lightroom, which offers streamlined photo editing with intuitive controls. It provides different options to reduce graininess in photos and delivers consistently impressive results. To reduce noise in your photo using Lightroom, you have to:
- Launch Adobe Lightroom Classic on your Mac or PC.
- Click Import and add the grainy photo you need to repair.
- Select your grainy photo in Lightroom and click Import.


- Navigate to the Develop module, then open the Detail panel.


- From the left pane under Noise Reduction, you’ll find Luminescence and Color options.


- Start by adjusting Luminance, then modify the Detail and Contrast noise reduction sliders until the grain is minimised.
- Keep adjusting these settings while previewing the changes in the right panel.
- Once satisfied with the preview result, go to File > Export to save and export the edited photo on your device.


Method 03: Use Third-Party Photo Repair Software
If the above methods don’t provide you with the desired result or fail to fix grainy photos, using third-party photo repair software can be the easiest and most effective solution. Tools like Stellar Repair for Photo are especially designed to fix corrupt or damaged photos affected by heavy noise, corruption, or quality loss. It works by repairing image files at a structural level and improving overall clarity.
The Stellar Repair for Photo software is known for several amazing features, such as:
- It allows you to repair grainy photos of multiple file formats, including JPEG, JPG, TIFF, PNG, and a broad range of professional RAW formats (e.g., NEF, CR2, ARW, DNG).
- The software allows you to fix corrupt, pixelated, blurry, greyed-out, or distorted image files in three simple steps, i.e., Upload, Repair and Save.
- It lets you repair multiple images at the same time, saving time when dealing with large photo collections.
- The preview feature of this software allows you preview the repaired files before saving them on your device.
- A simple drag-and-drop workflow makes it easy for beginners to fix photos without technical skills.
Here’s how to fix grain photos using this amazing photo repair software:
Step 1: Download and install the Stellar Repair for Photo software on your Windows PC or Mac. Launch the software and from the homepage, click Add File to upload the grainy photo(s) you need to repair.

Step 2: After adding the photos, click the Repair button and wait till the software scans your photos to fix noise, distortion, blur, and other quality issues.

Step 3: Once the repair is complete, preview the repaired images and select the ones you want to keep. Click Save Repaired Files to save repaired images at a secure location on your device.

Note: It is good to save repaired photos in a different folder to avoid overwriting the originals.
Preventive Tips to Avoid Graininess in Photos
Repairing grainy photos is quite easy; try avoiding such issues from your end. Preventing graininess in photos is always better than fixing it later. Here are certain tips that you can consider to avoid grainy photos:
- Use the Lowest ISO Possible: Always keep the ISO as low as lighting conditions allow. Higher ISO increases sensor sensitivity but also introduces grain and digital noise.
- Stabilise the Camera: Camera movements can introduce noise in your photos. To avoid this, use a tripod, a stable surface, or image stabilisation. This allows slower shutter speeds without increasing ISO.
- Keep the Lens Clean: Dust, fingerprints, or smudges on the lens can reduce clarity and make grain appear more noticeable.
- Choose the Right Exposure Settings: Balance ISO, shutter speed, and aperture carefully. A wider aperture allows more light, helping reduce grain.
Wrapping Up
Fixing grainy photos that’s too without losing detail may seem challenging, but it’s quite easy. It requires understanding the exact cause of the noise, considering certain tips during shooting, and applying professional editing techniques. The methods mentioned above in this article help you not only in noise reduction but also to achieve clean, sharp, and natural-looking images. Ultimately, the key is moderation— understanding your photo, applying selective adjustments, and avoiding over-processing.